
Halloween is one of the few times of year you can completely change the personality of your home for the price of a few pumpkins and a roll of faux cobweb. You don't need a garage full of decorations to pull it off — you need the right combination of scale, texture, and restraint.
Below are six real decorating approaches, each built around a different kind of space: a porch, an entryway, a tabletop, a window, a front door, and a single statement piece. None of them require you to buy everything in the seasonal aisle. Most of them work because of what they leave out, not what they add.
1. A Classic Spooky Porch: Pumpkins and a Giant Spider
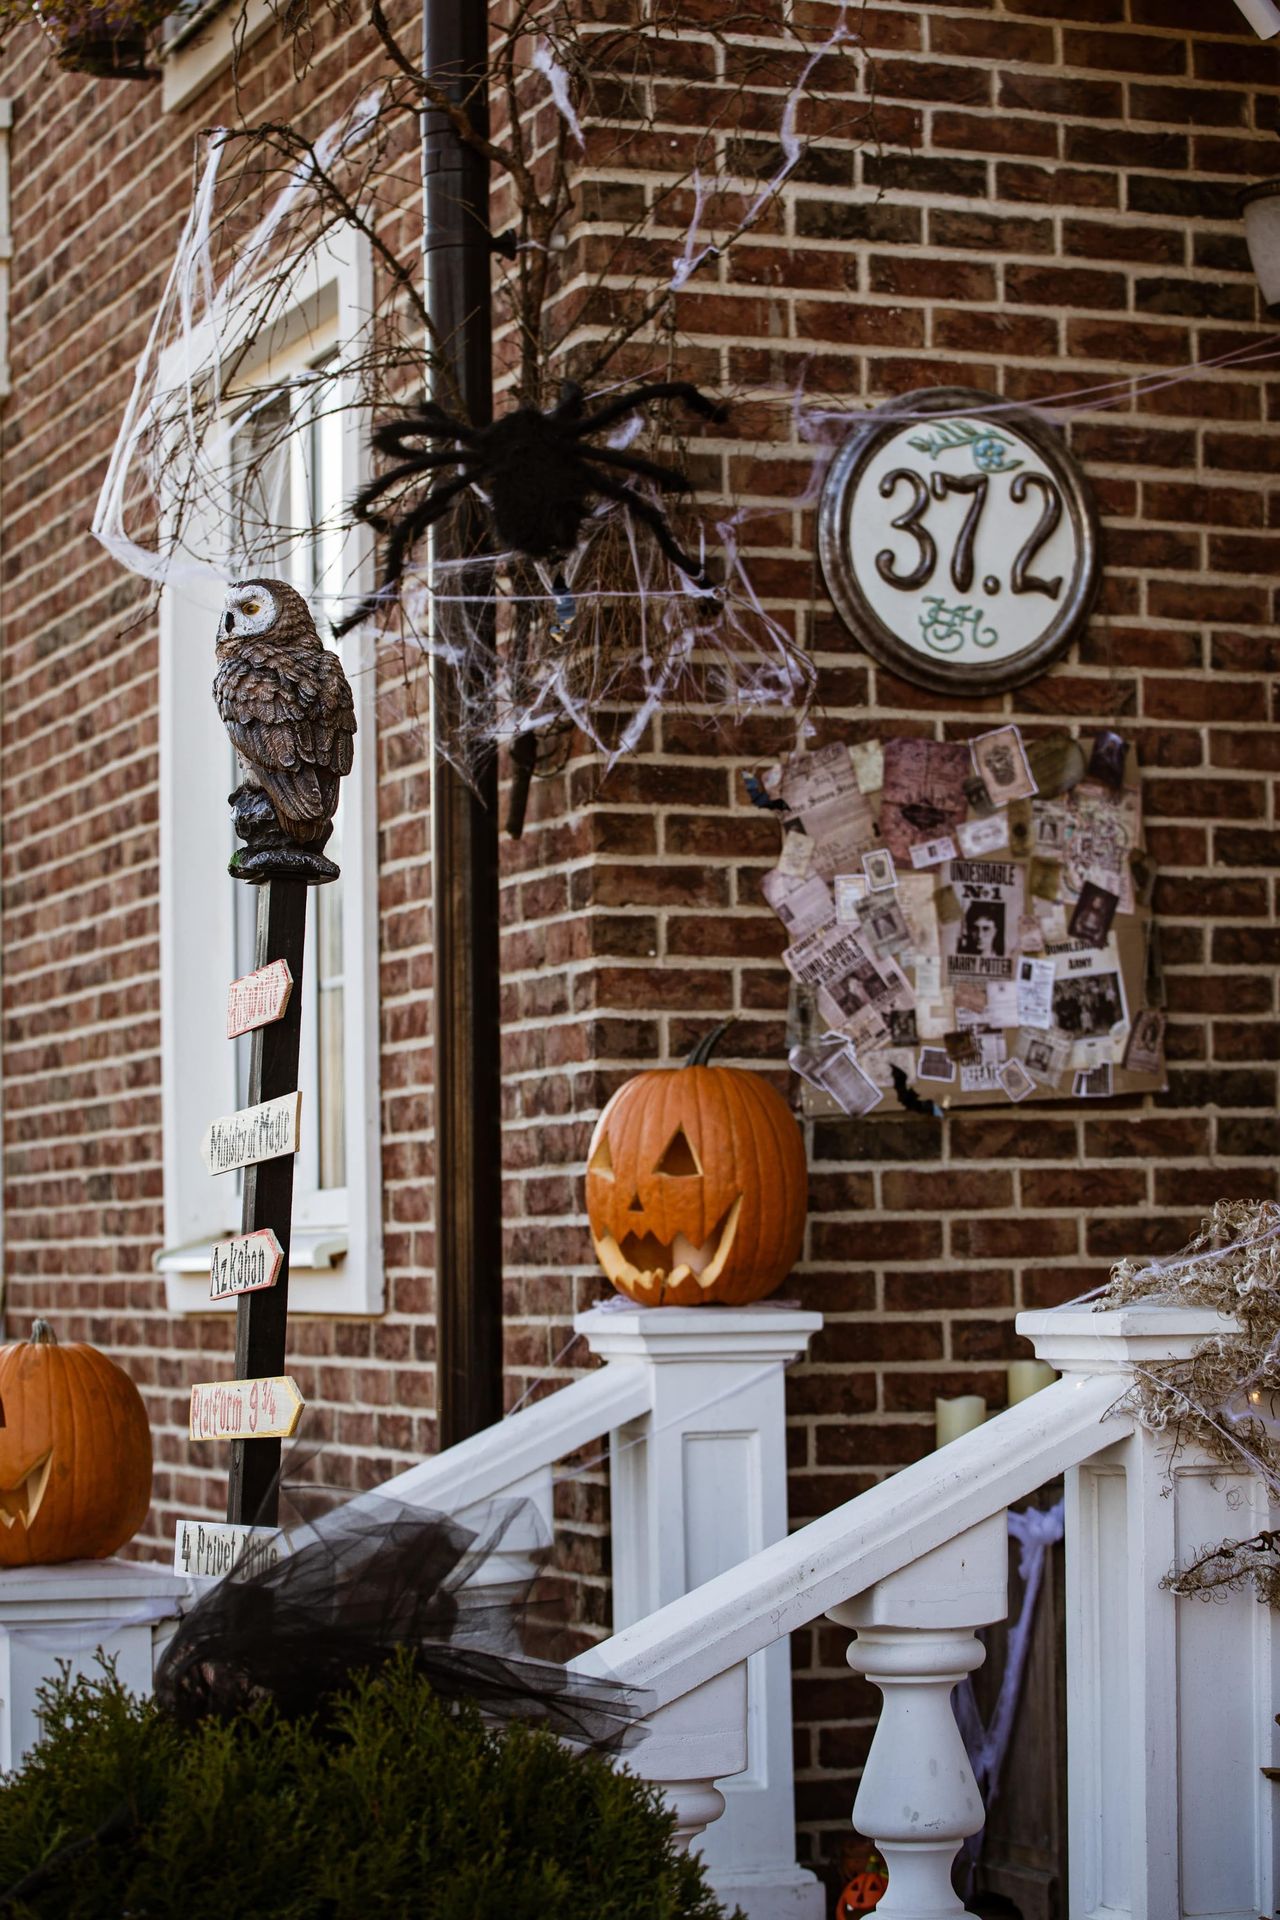
A plain brick porch turns dramatically spooky with just three ingredients: pumpkins, faux webbing, and one oversized spider.
The brick itself does a lot of the work — its warm, reddish tone is basically a built-in autumn backdrop, and white railings and trim give it contrast. Pumpkins are scattered at different heights around the entrance, some carved with expressive jack-o'-lantern faces, others left plain.
The real focal point, though, is a large black spider mounted on the exterior wall. It's the kind of decoration that does more work on its own than a dozen smaller ones combined — the scale alone reads as "haunted" before you even notice anything else. White and gray webbing stretches unevenly across the brick and railings around it. An owl figure perched on a post, plus a couple of small hanging Halloween signs, round things out. A house-number plaque left in place among the decorations is a nice touch — it keeps the porch looking lived-in instead of like a staged display.
How to recreate it:
- Use two or three pumpkins in varying sizes — never identical ones.
- Carve one or two; leave the rest natural.
- Anchor the display with one large faux spider, positioned against a wall or near the door.
- Pull webbing into loose, irregular clumps around the spider rather than spreading it evenly.
- Add one dark decorative figure (an owl works well) on a post or pedestal.
- Finish with a couple of small signs — don't overdo it.
Placing pumpkins at different levels (one on the floor, one on a step or stool) adds depth without adding clutter.
Budget version: One oversized spider plus a bag of faux webbing will do 80% of the visual work. Add cheap market pumpkins and reuse whatever planters or stands you already have outside.
2. Mummy Meets Autumn: A Softer, Vintage Entry
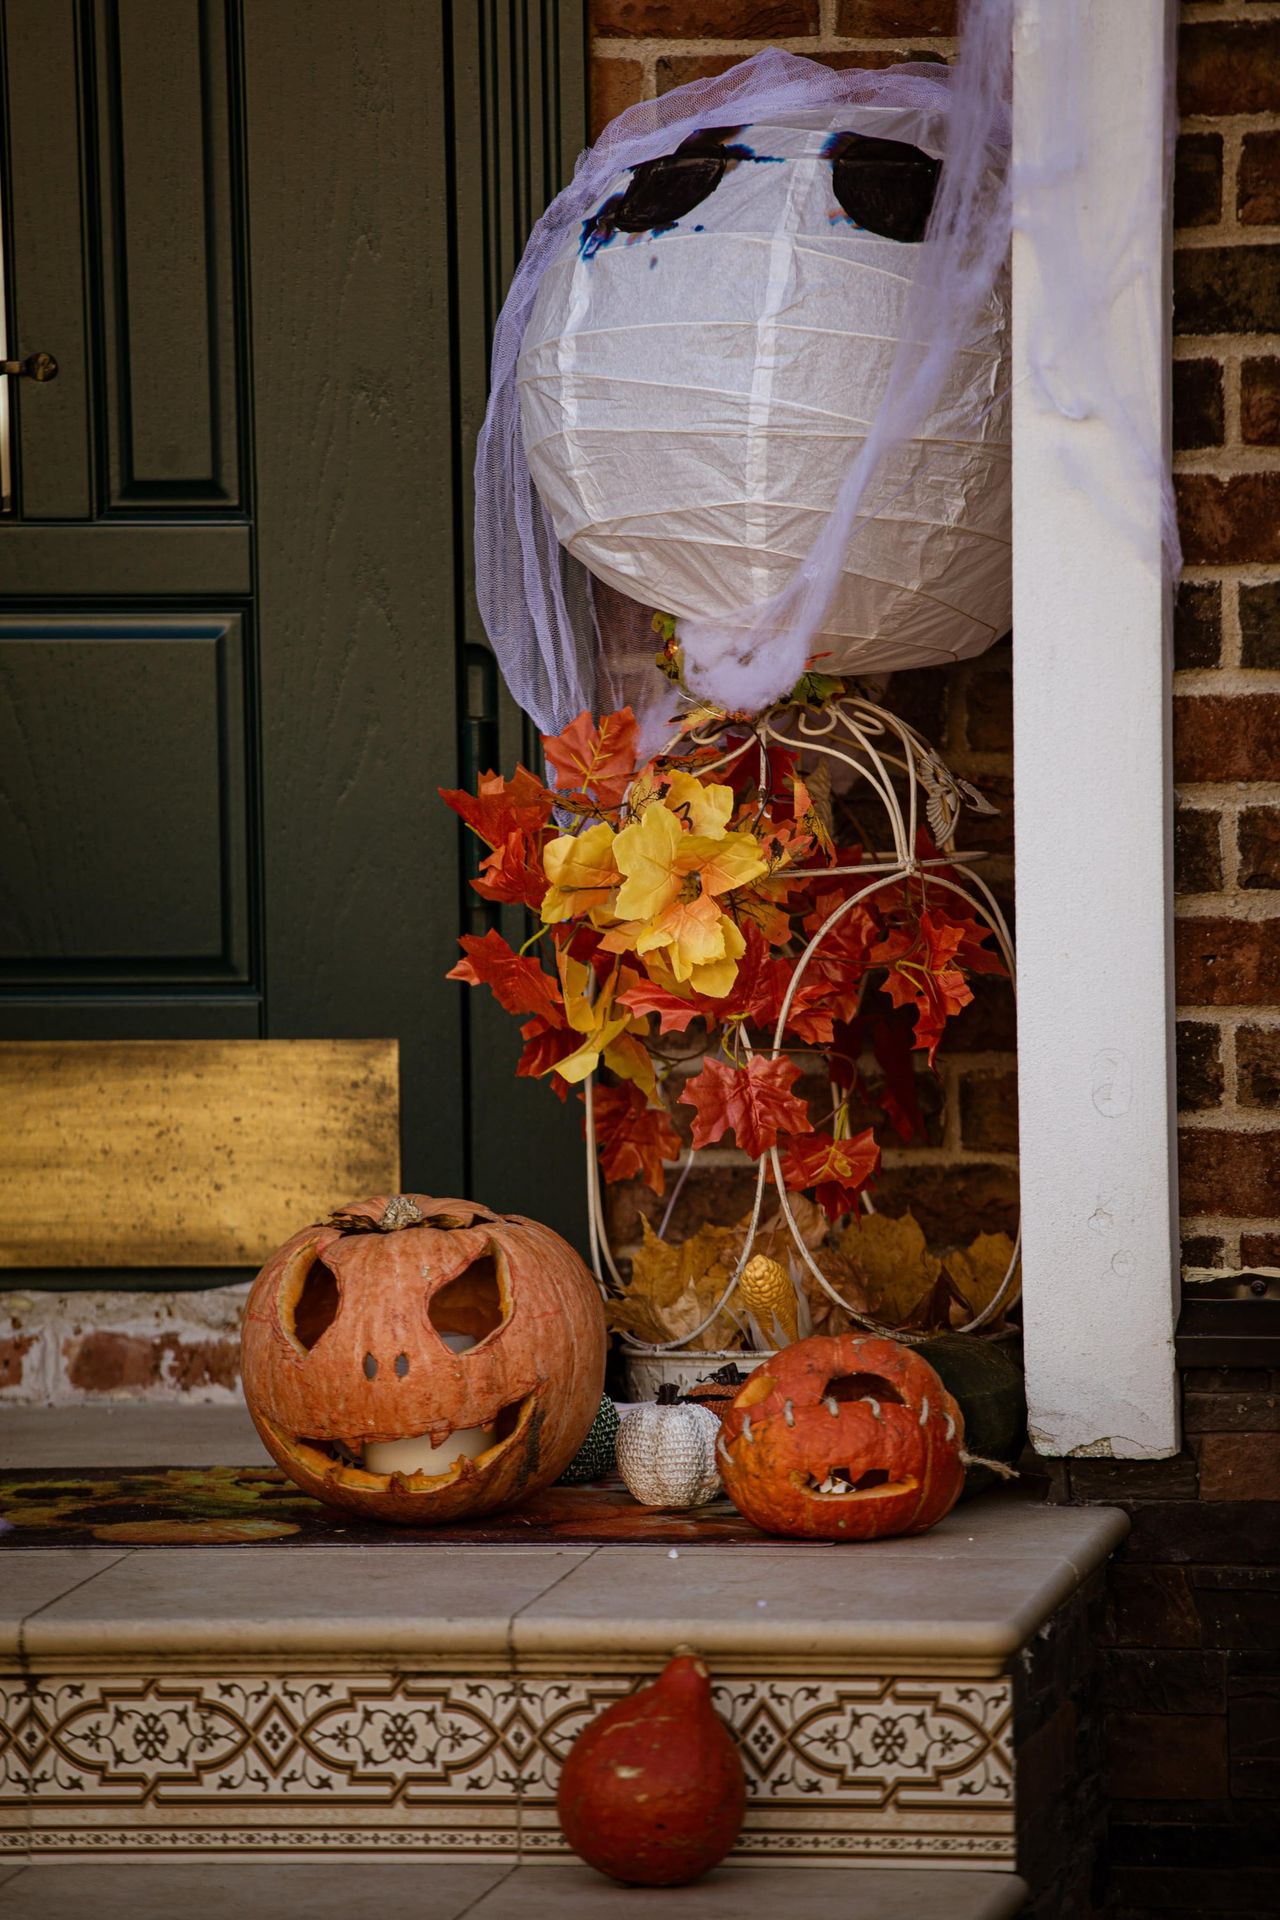
If pure "spooky" isn't your style, this look pairs a ghostly figure with warm fall foliage for something gentler and more autumnal.
The centerpiece is a large, rounded white form wrapped loosely in translucent fabric — dark sunglasses or simple dark eye shapes give it a playful, homemade mummy face. Below it, a white metal plant stand holds a burst of artificial autumn leaves in orange, red, gold, and yellow, which keeps the whole arrangement from feeling cold or one-note. A large carved pumpkin with a big expressive face, a smaller uncarved pumpkin, and one pale decorative pumpkin add texture at ground level. Set against a dark green door and reddish brick, the cream, orange, and rust tones read as autumn first and Halloween second.
How to recreate it: Build the mummy figure from a large lightweight round form (a paper lantern or old lampshade works fine), wrapped loosely in white tissue and cheesecloth, with dark fabric or paper for the eyes. Wrap it unevenly — perfectly smooth layers look store-bought, and slightly messy folds look handmade in a good way.
Add a foliage arrangement underneath using leaves in burnt orange, rust, gold, deep red, and brown. Finish with pumpkins of varying sizes along the base.
Why it works: it mixes two visual temperatures — cool white and dark green against warm orange, red, and brown. An all-orange-and-black display can start to look like it came out of a box; the cream gauze and natural foliage push it toward something more considered.
DIY version: Skip the specialty mummy form and use a cheap paper lantern instead. Collect a few real fallen leaves to mix in with artificial stems, and swap any Halloween-branded container for a basket or plant stand you already own.
3. A Playful Tabletop Display for a Halloween Party
Halloween decorating doesn't have to live on the porch. A small table — for a party, a family gathering, or just a snack station — can carry its own miniature version of the same idea.
This one skips scary entirely in favor of playful: a black bowl filled with miniature orange pumpkins and small white ghosts, set against a green serving board holding more mini pumpkins, a tiny black haunted house, and another ghost. The green board is the unexpected choice here — it keeps the classic black-and-orange combo from feeling predictable. A black-and-orange patterned table runner ties it together, and a few flameless candles scattered around add a soft glow without any fire risk.
How to recreate it: Start with a patterned table runner in black with orange graphics — it gives you a strong base without needing much else on the table.
Fill a black bowl loosely with miniature pumpkins, small ghosts, and a few black accents, letting the pieces overlap slightly rather than lining them up. On a second surface — a tray, board, or plate in a contrasting color — scatter a few more minis and a small haunted-house piece. Add battery-powered candles around the edges.
A useful rule here: aim for one larger object (the bowl), one medium object (the board), and several small accents (the candles and minis). That combination of heights is what keeps a small table from looking flat.
Party idea: this same setup doubles easily as a candy station — use the bowl for wrapped treats and scatter the minis around it. For an adult gathering, swap the candy bowl for appetizers.
Budget version: A regular mixing bowl and a wooden tray do the job just as well as anything Halloween-branded. Battery tea lights give the same warm glow as real candles, minus the fire hazard. 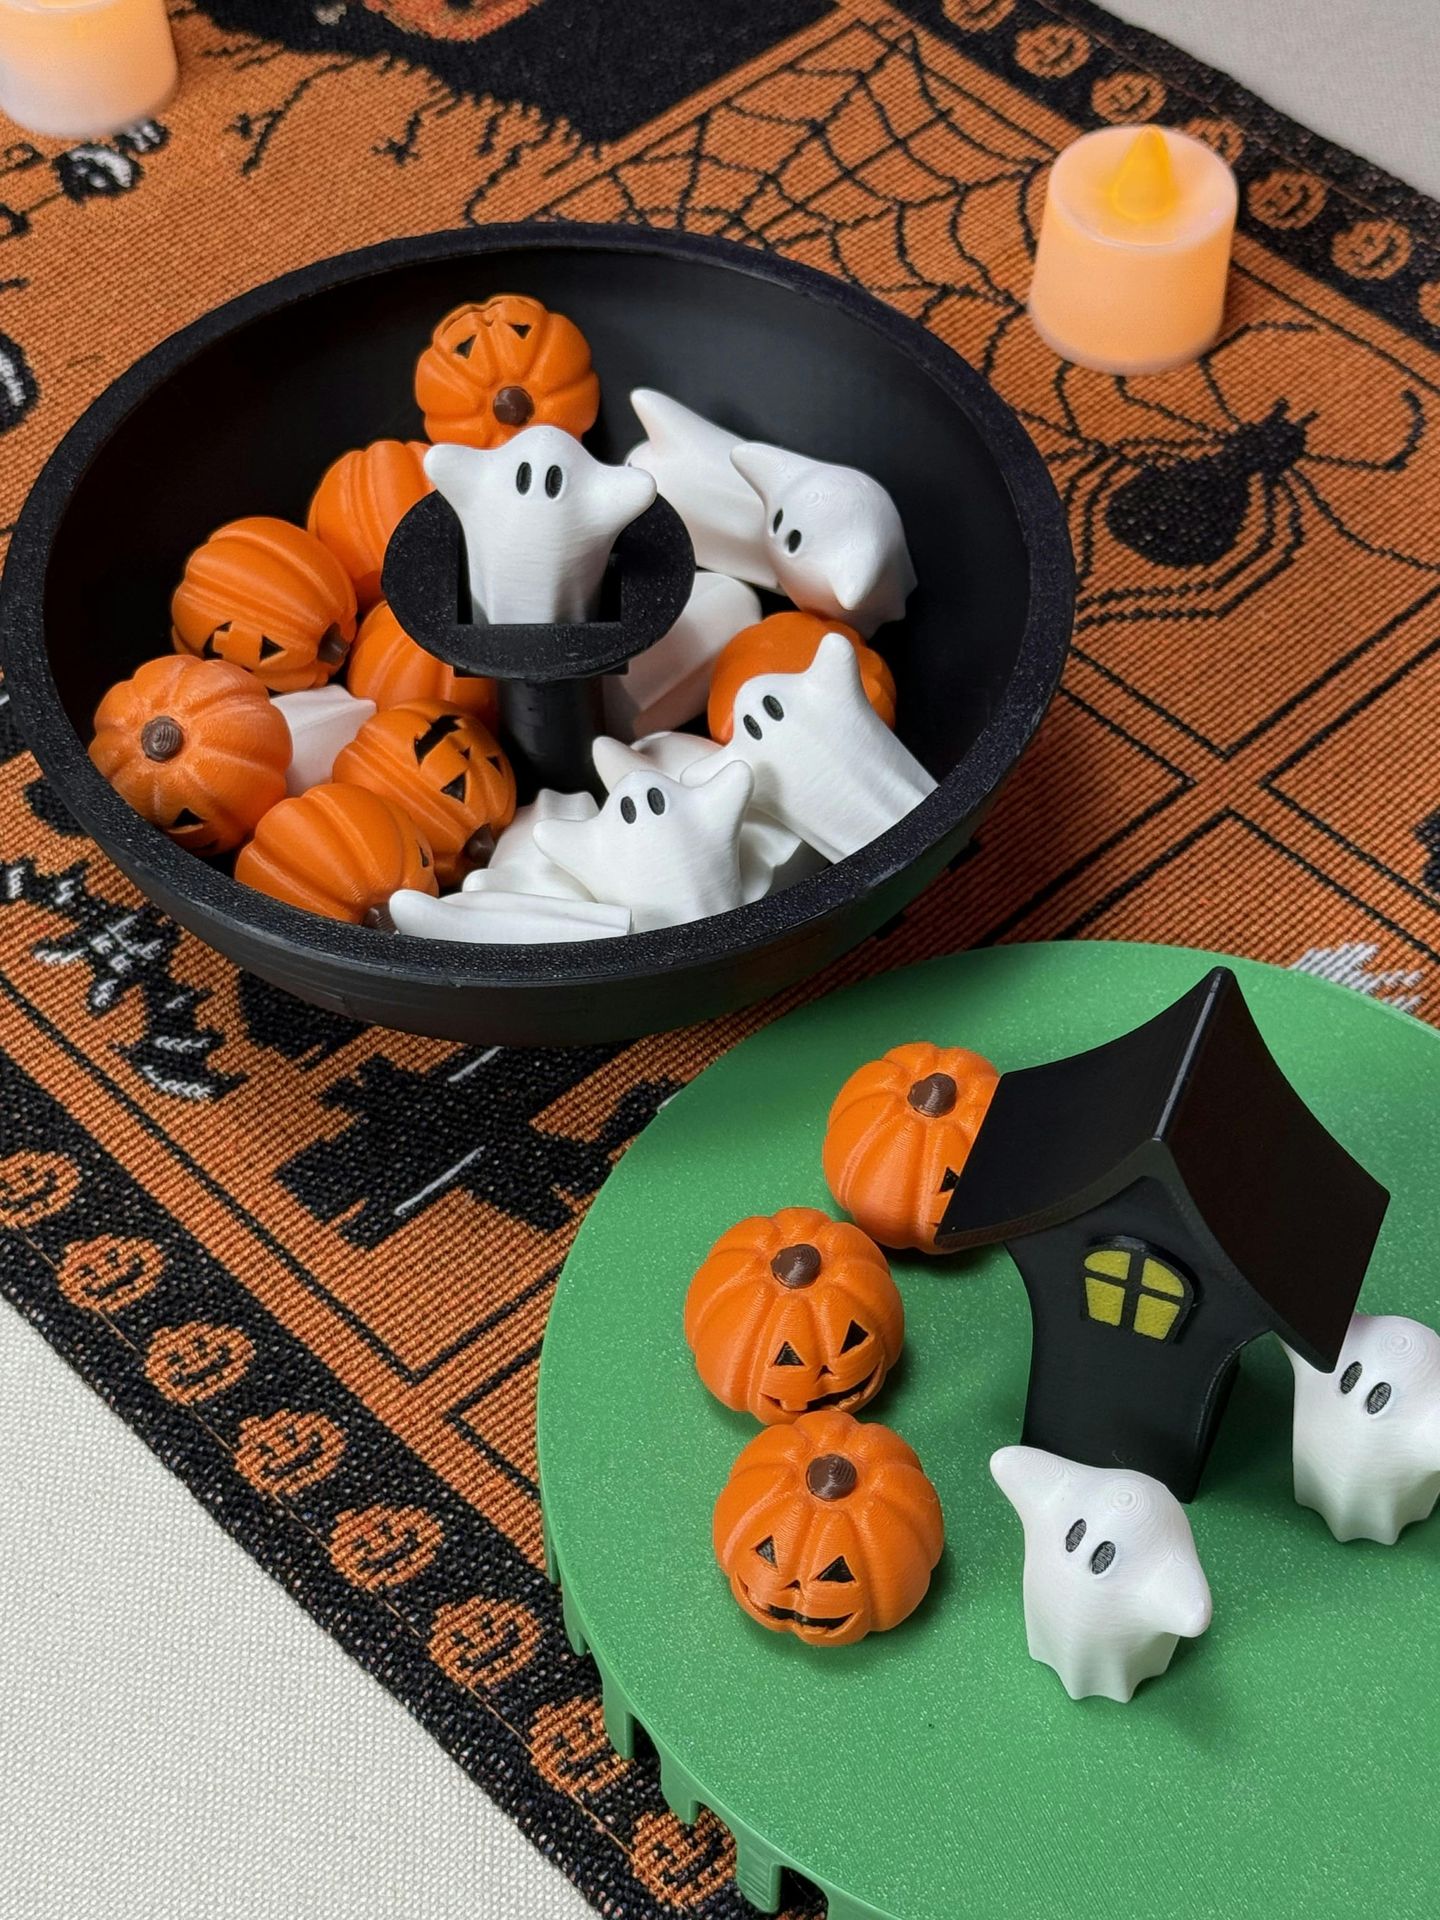
4. A Simple Window Banner and One Big Spider
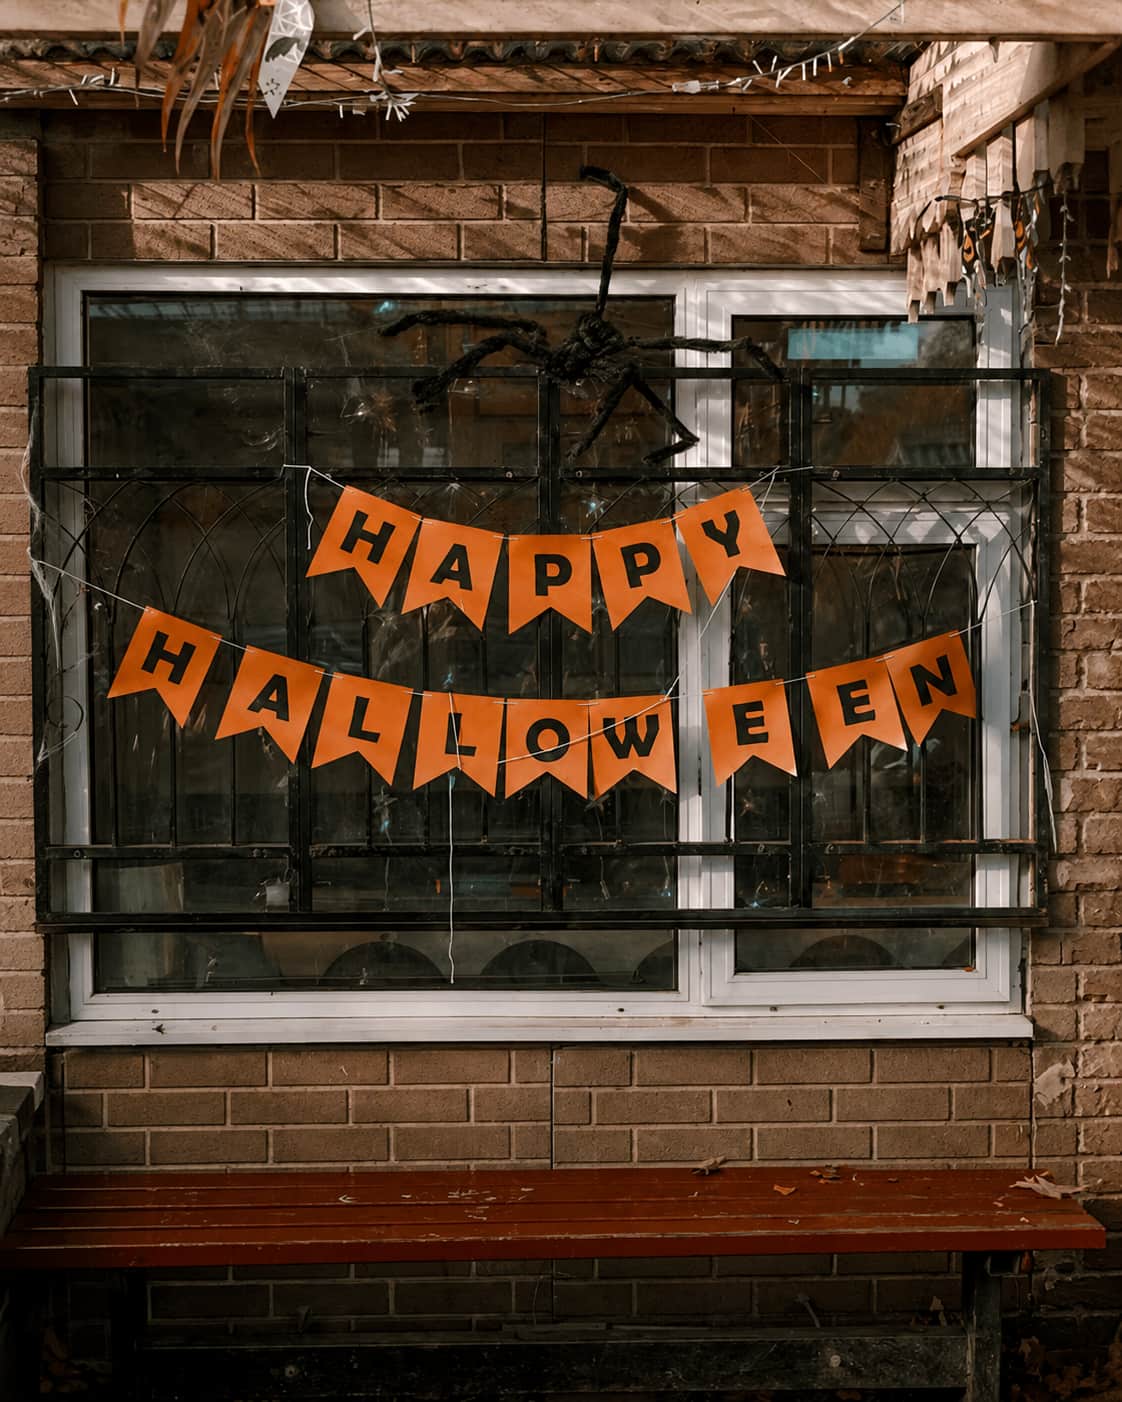
Sometimes less really is more. This window setup uses a brick exterior, one "HAPPY HALLOWEEN" pennant banner in orange and black, and a single large spider — and nothing else.
The banner does most of the visual work, its orange triangles and black lettering standing out clearly against the dark window glass. Above it, one black spider hangs as the focal point, with a small amount of webbing at the upper corners. That's the entire display — no pumpkins, no extra figures — and it works because the window's own rectangular shape already provides structure.
How to recreate it: Pick one window. Hang the banner horizontally, positioned a bit below center so there's room above it. Add the spider above or overlapping the banner, then a small amount of webbing at the corners — just enough to soften the edges.
This is a good option if you're renting, live in an apartment, or just don't want to commit to a full display. The trick is restraint: you genuinely don't need pumpkins and skeletons in the same window as the banner and spider.
DIY version: Make the banner yourself from orange cardstock and black lettering on a string. A cluster of cheap plastic spiders can stand in for the single oversized one if that's easier to find.
5. A Welcoming Entry: Pumpkin Faces and a Black-and-Orange Wreath
Not every Halloween entrance needs to be frightening. This one leans cheerful instead — three playful pumpkin-face decorations on one side of a double door, each with a different expression, and a black-and-orange wreath on the other side.
Clean white doors give the black and orange decorations somewhere to stand out. The surrounding brick adds warmth, and a few potted plants and autumn leaves near the steps add color without pulling focus from the doors themselves. The overall effect is festive rather than spooky — a good fit if kids are trick-or-treating at your house.
How to recreate it: With double doors, put pumpkin-face decals on one side and a wreath on the other rather than matching them exactly — that asymmetry is more interesting than a mirrored pair. Keep the pumpkin faces varied in expression so they don't look repetitive, add a few autumn plants near the steps, and use orange sparingly so it still reads as an accent rather than the whole palette.
The core idea here is contrast. White doors make black and orange pop without much effort. If your door is already dark, the same logic works in reverse — go lighter, with pale pumpkins and cream ribbon instead.
Budget version: Start with a plain black wreath form and build it up with a few small pumpkins, ribbon, and leaves rather than buying a fully decorated one. Pumpkin-face decals are reusable, so it's a one-time cost.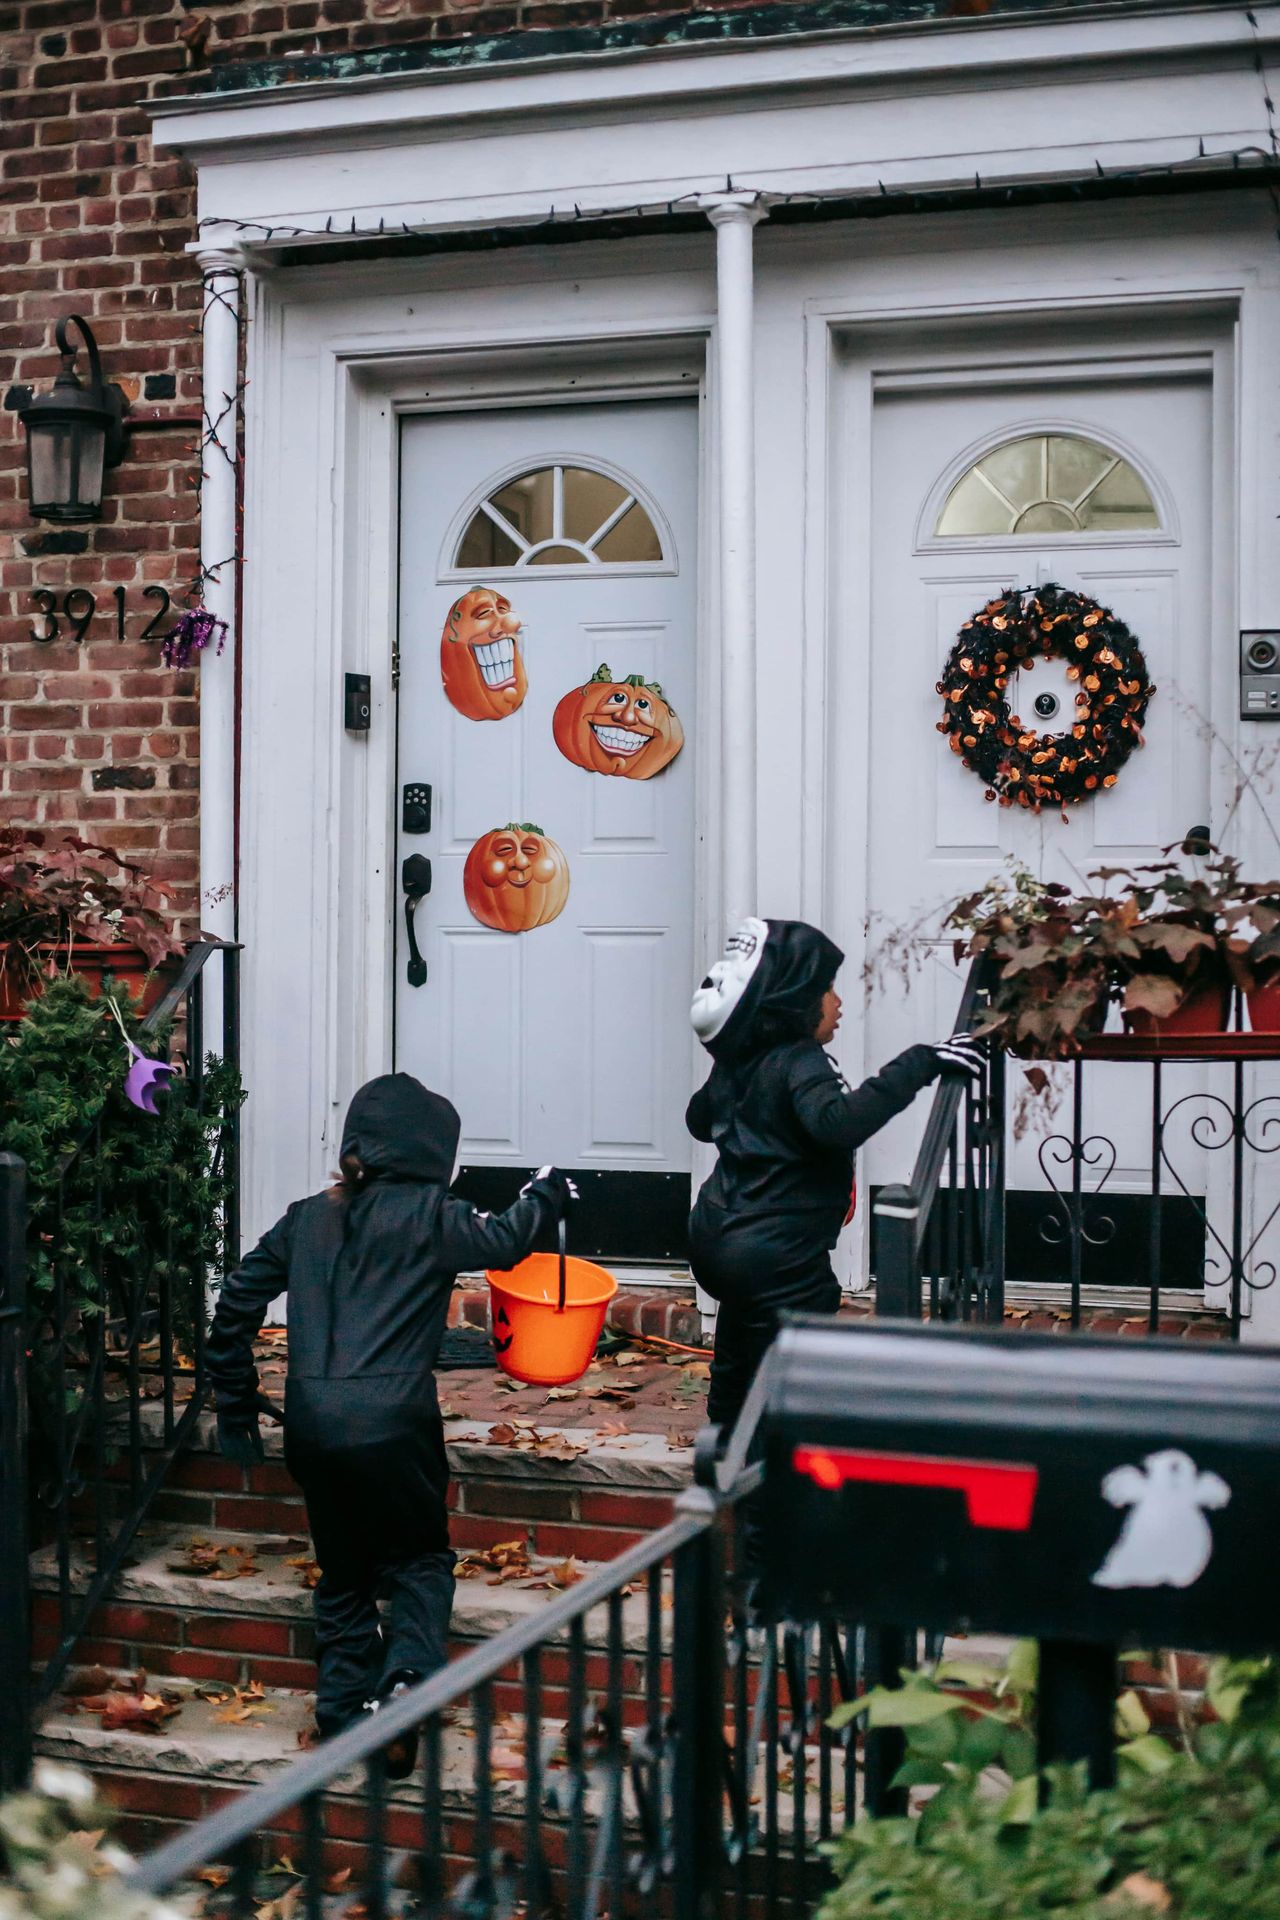
6. One Statement Piece: A Handmade Witch on a Plain Door
For something more theatrical, a single hanging character can transform a plain door on its own — no need for a full display.
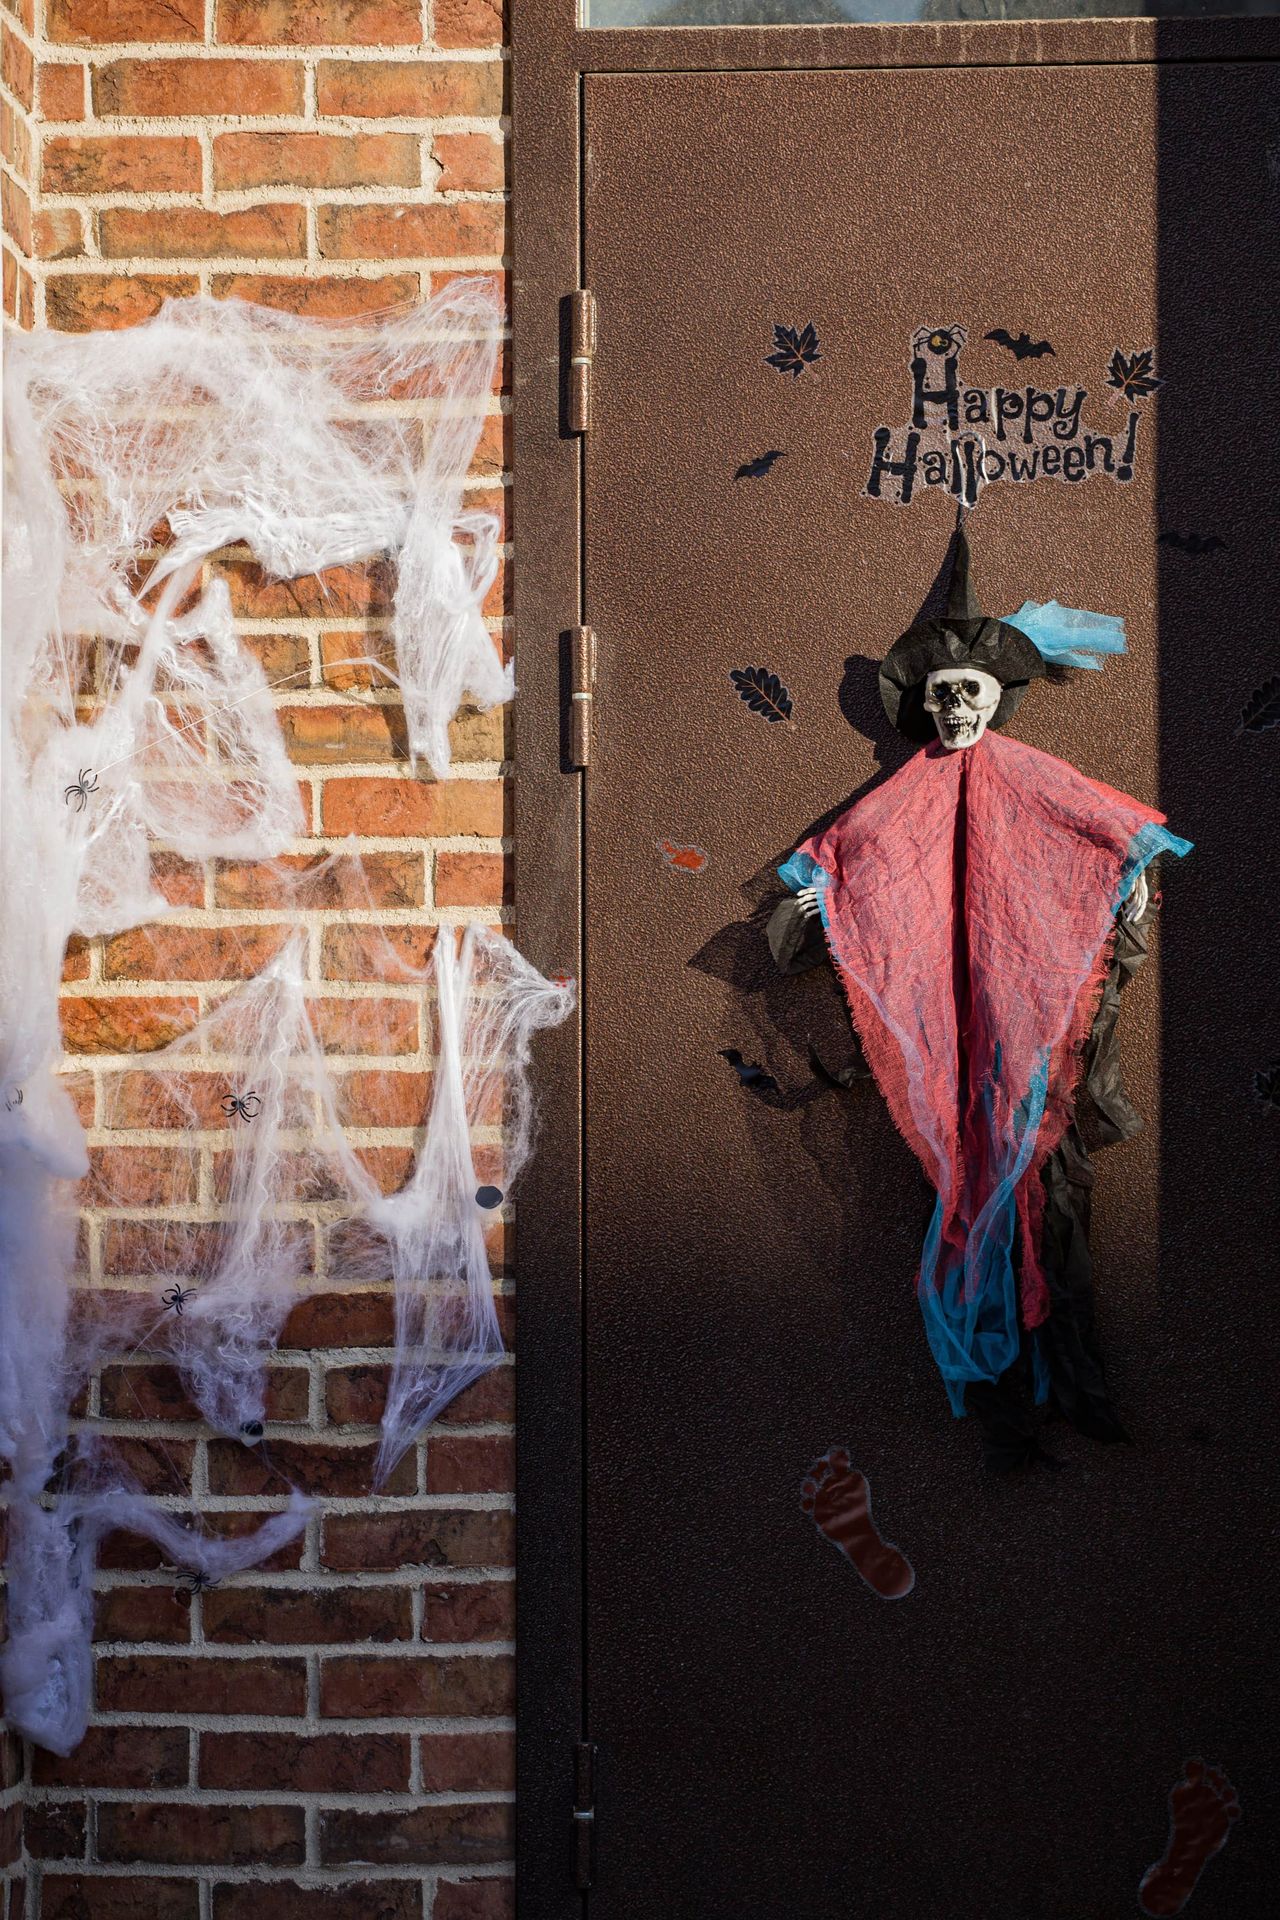
Here, a dark brown door surrounded by brick gets one hanging figure in a black pointed hat and a bright pink-and-blue costume, with a pale skeletal face. White faux webbing spreads across the brick on one side, and a handful of small bat and leaf decals sit scattered on the door itself. A simple "Happy Halloween!" sign above the figure finishes it off.
How to recreate it: Hang one large character — a witch, scarecrow, or ghost — front and center on a dark door or background, choosing something with enough color contrast to actually stand out. Pull webbing loosely across one side of the surrounding wall rather than covering it completely, and add just a few decals around the door. A handwritten or printed greeting above the figure ties it together.
The pink-and-blue costume is worth noting on its own: Halloween decor doesn't have to stay locked into black and orange. An unexpected color combination often reads as more personal and less like something bought off a shelf.
DIY version: Build the figure from a lightweight stuffed frame, black fabric for the hat, scrap fabric for the costume, and a painted or lightweight mask for the face. It doesn't need to look polished — a little unevenness in the fabric actually helps sell the handmade, slightly vintage feel.
Must-buy Halloween decor items this season:
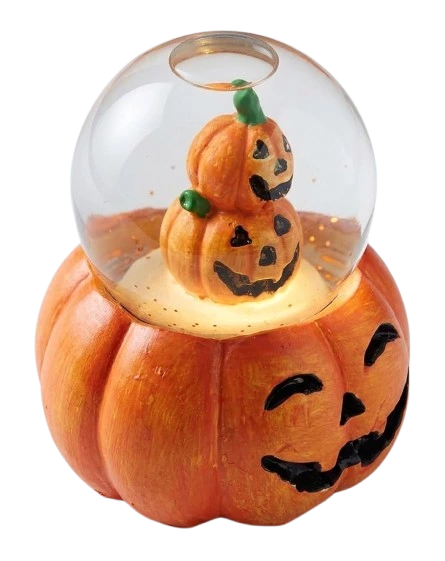
Buy on Amazon > Buy on Amazon > buy on Amazon >
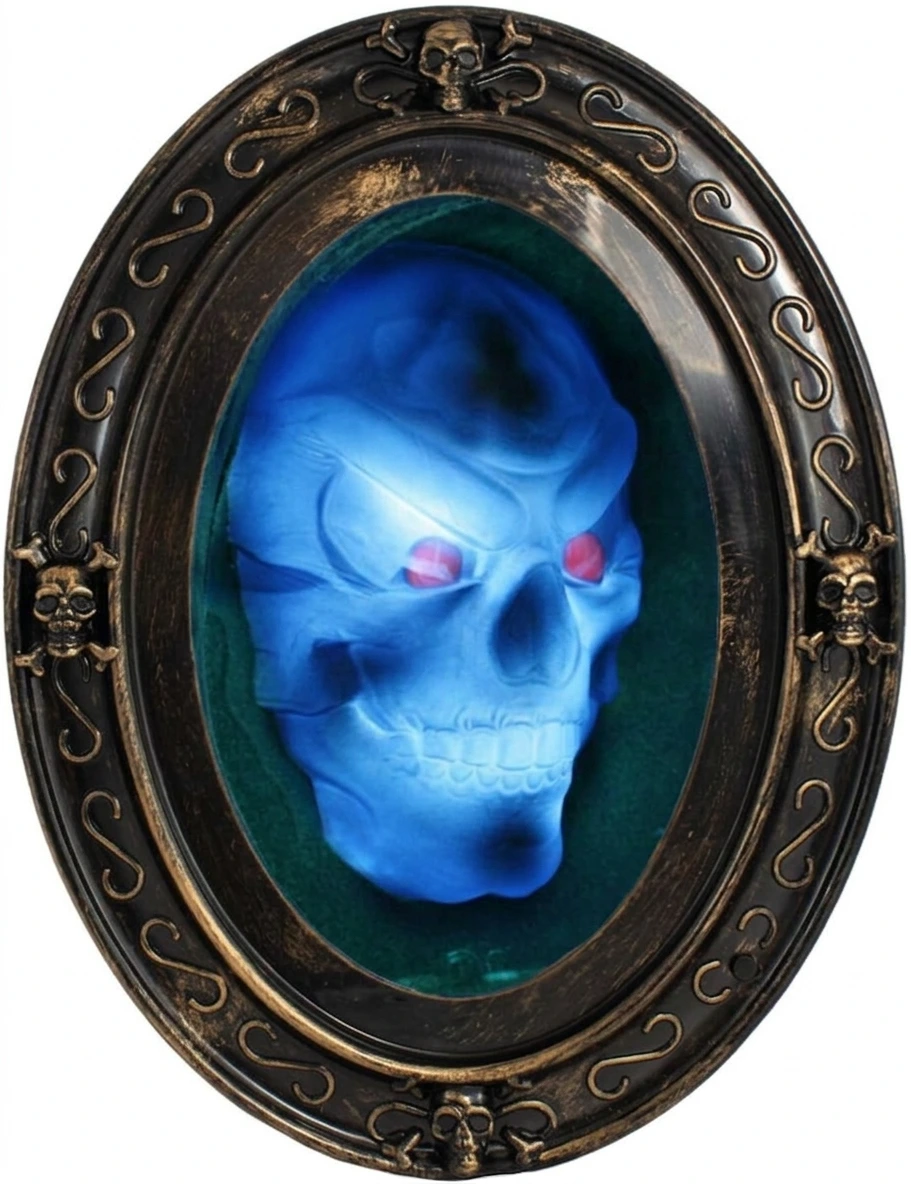
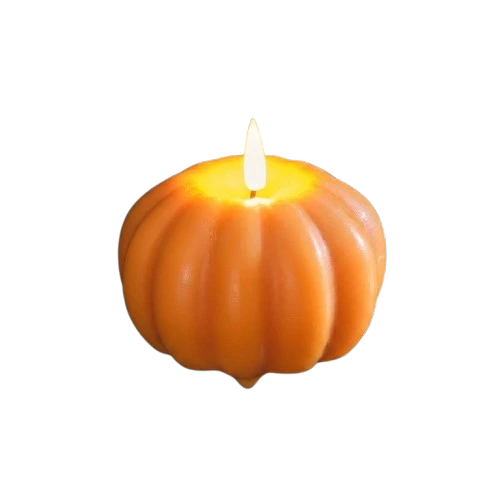
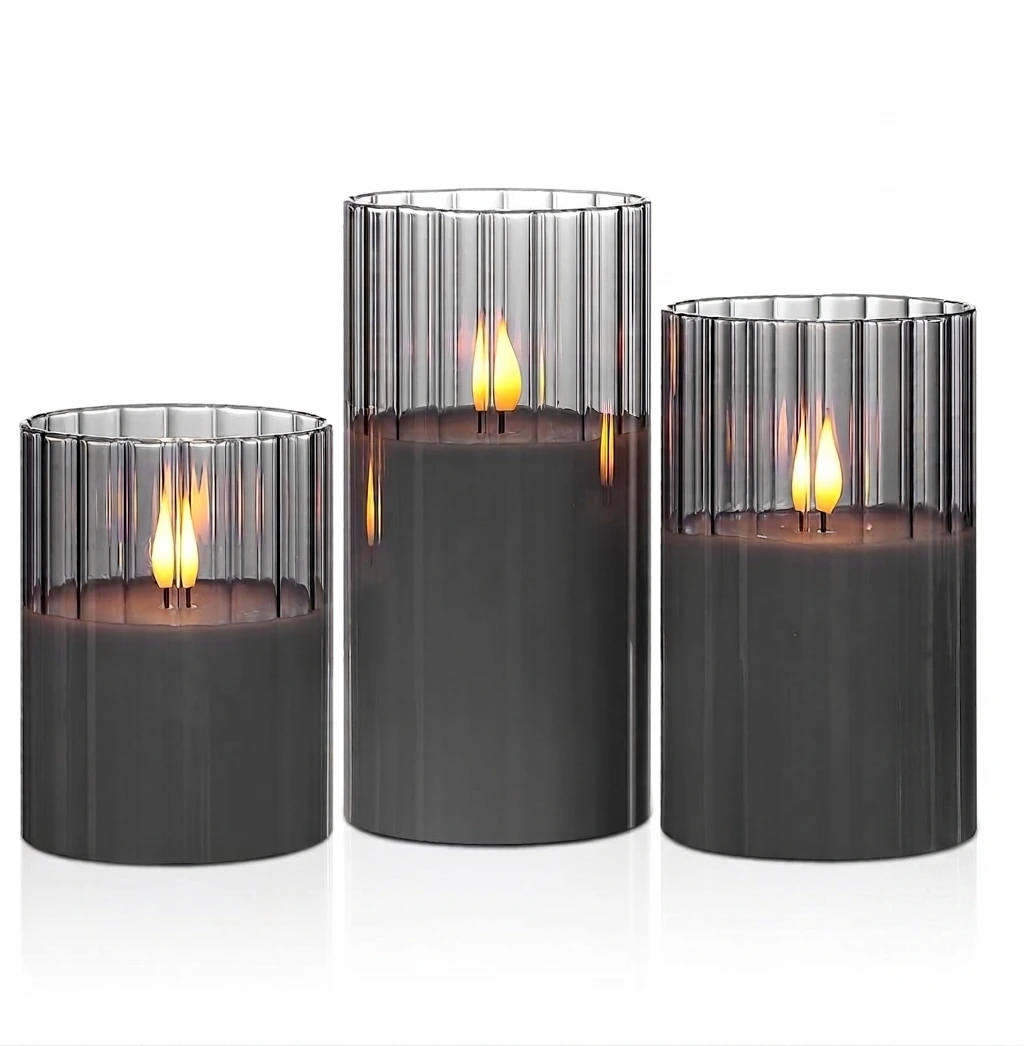
Buy on Amazon > Buy on Amazon > Buy on Amazon >
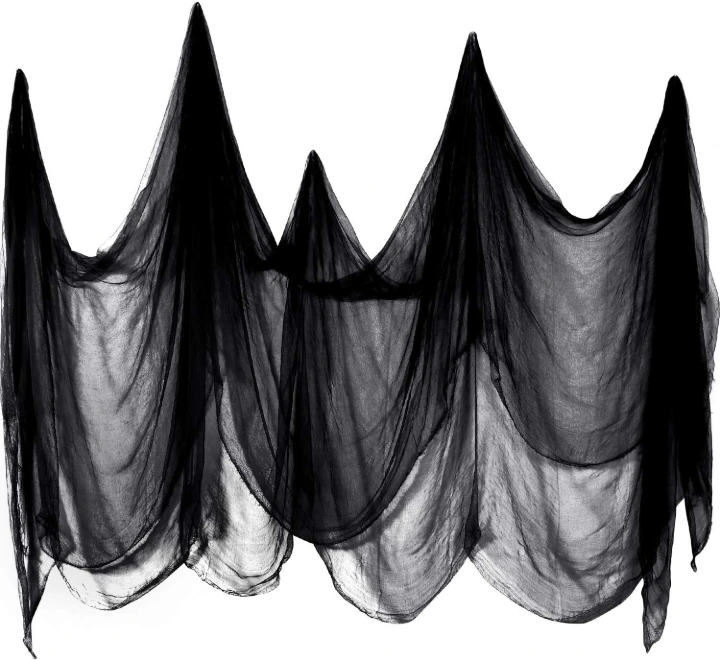
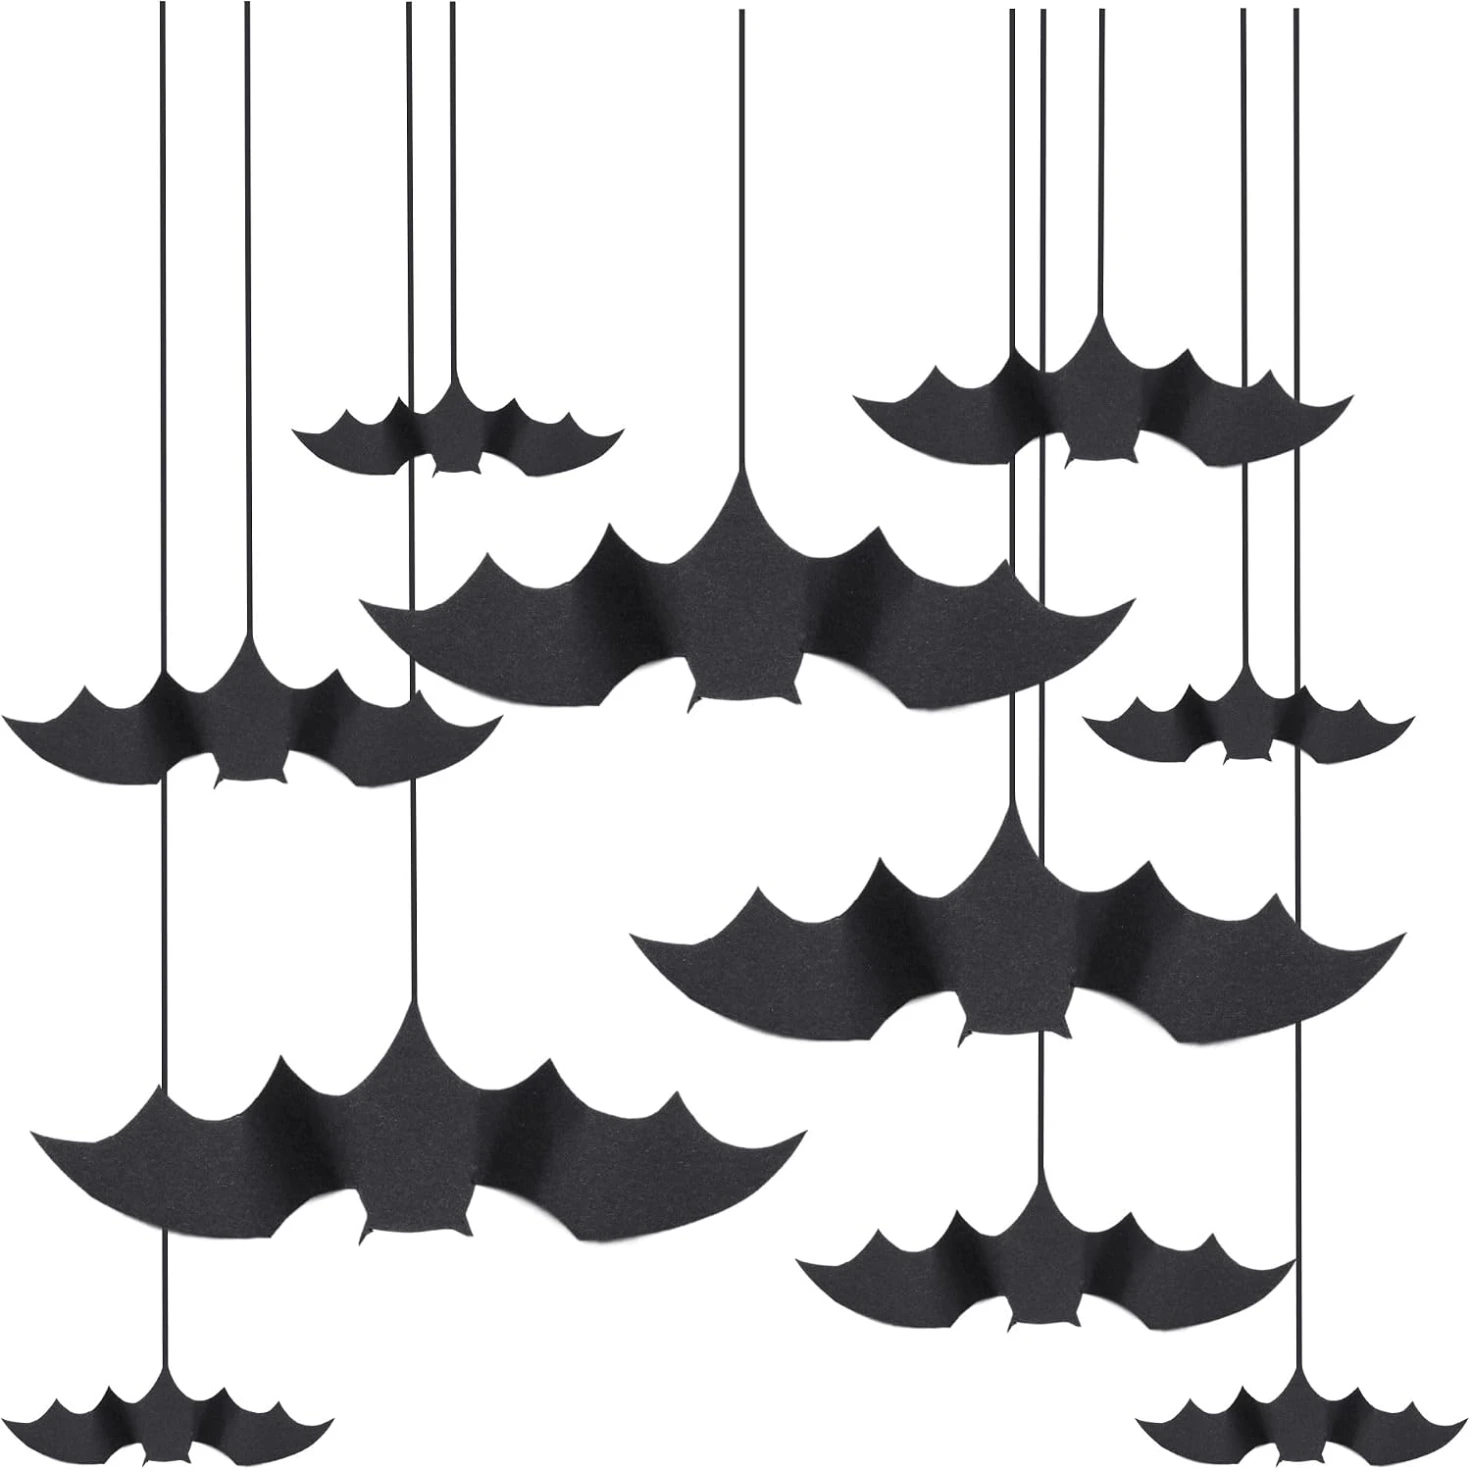
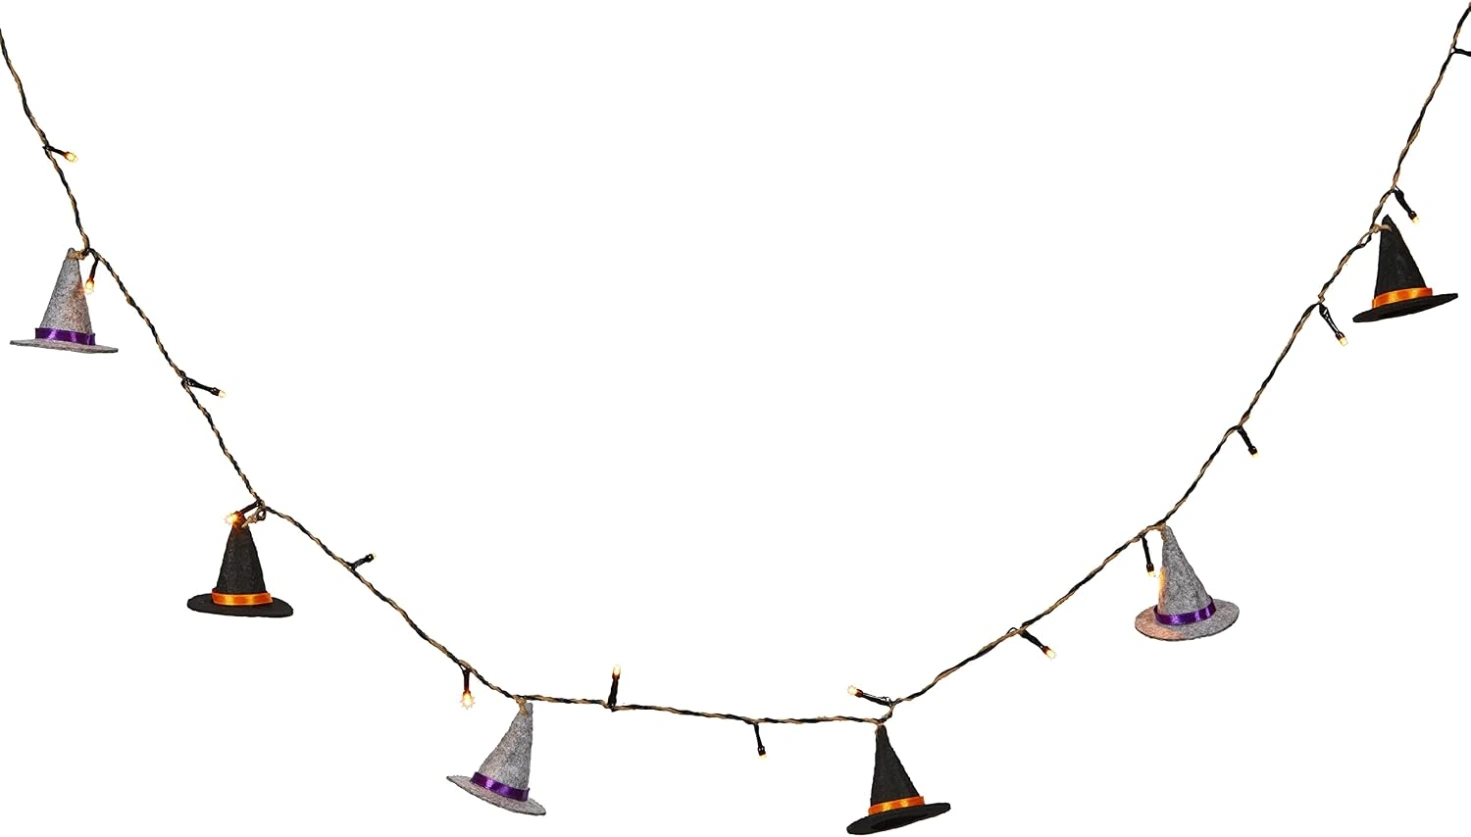
buy on Amazon> buy on Amazon > buy on Amazon >
What Ties These Six Looks Together
Looking at all six side by side, a few patterns show up again and again — and they're worth calling out on their own, because they apply no matter which look you're going for.
Pick a limited palette and stick to it. Black and orange is the obvious choice, but black-and-white, orange-and-cream, or black with one unexpected accent color (like the pink-and-blue witch above) all work just as well. What matters is picking one combination and not drifting from it.
Vary the height. A row of same-size objects on a flat surface reads as unfinished. Mixing floor-level pumpkins, a raised bowl or tray, a hanging figure, and a wall-mounted piece creates depth even with a small number of decorations.
Mix textures. Rough brick against a smooth painted door, crinkled tissue paper against real foliage, a fabric banner against plastic pumpkins — texture is what keeps a limited color palette from looking flat.
Give it one focal point. Every example above has exactly one thing your eye lands on first — the giant spider, the mummy figure, the wreath, the witch. Everything else is there to support that one piece, not compete with it.
Decorating by Space
Porch: Pumpkins, an oversized spider or two, faux webbing, and a sign or figure. Let the porch's own architecture (posts, railings, steps) tell you where things go.
Door: A wreath, a hanging character, or pumpkin decals — pick one, and leave enough bare space around it that it doesn't look crowded.
Table: Bowls, trays, minis, and candles, grouped in clusters rather than spread evenly across the surface.
Window: Banners and hanging spiders work especially well here since they're visible from both sides of the glass. Keep the whole thing contained to one section of the window rather than spreading across it.
Party setup: Miniature pumpkins and ghosts, a patterned runner, and flameless candles — enough atmosphere to feel festive without getting in guests' way.
Safety Notes Worth Actually Following
A few of these are easy to overlook once you're in decorating mode, so it's worth a quick pass before you call it done:
- Keep steps and walkways completely clear — this matters most on Halloween night itself, with kids moving around in costumes and low light.
- Use flameless, battery-powered candles anywhere near fabric, faux webbing, dried leaves, or paper decorations.
- Make sure anything hanging (spiders, witches, banners) is secured well enough to handle wind and normal bumping.
- Only use outdoor-rated lights and connections, and keep plugs away from moisture.
- Never let decorations block a door handle, lock, hinge, or the door's ability to open fully — this includes wreaths and hanging figures.
- Keep gauze, tissue paper, and other lightweight fabrics away from candles, heaters, and light fixtures that generate heat.
Last Thought
None of these six looks depend on buying more. The porch works because one giant spider does the job of ten small decorations. The tabletop works because of three heights, not thirty objects. The window works because of restraint, not abundance.
If you're deciding where to start, pick whichever of these matches the space you actually have — a porch, a door, a table — and build around one focal point first. Everything else is just supporting detail.